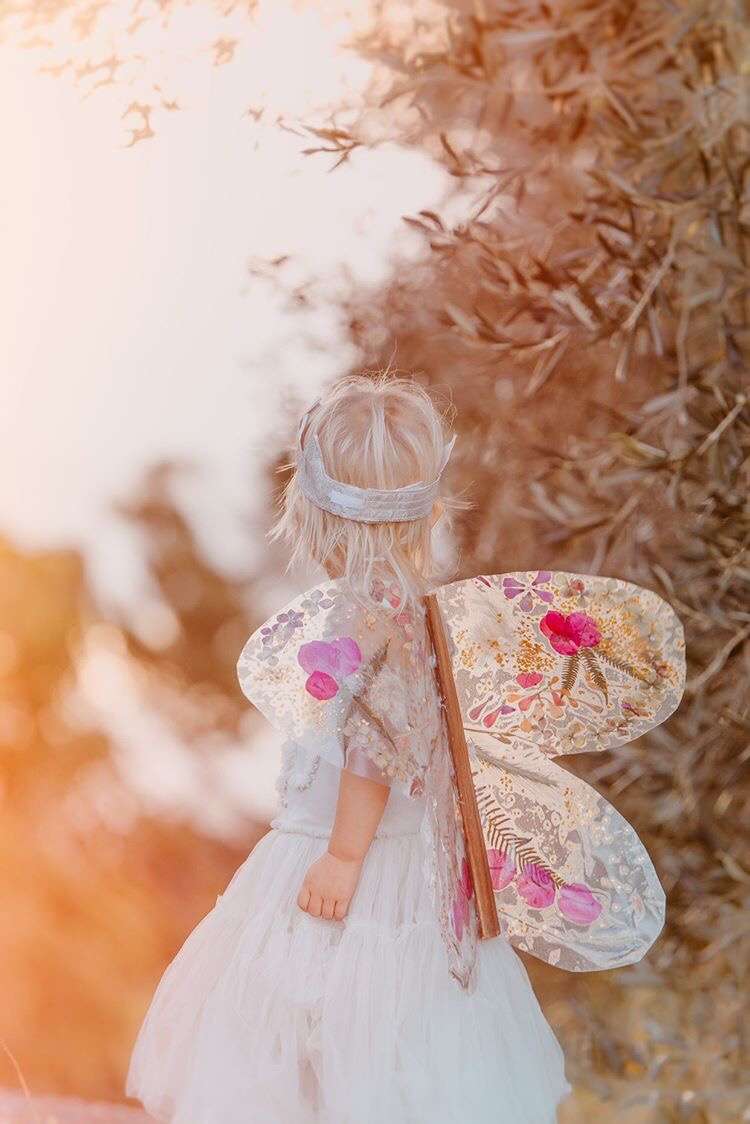
Wildflower Fairy Wings

Add some magic to the everyday with this beautiful fairy wing craft from Lavara Photography. This is a lovely craft to do over two days, first collecting and drying the flowers, leaves etc and then another day putting them together.
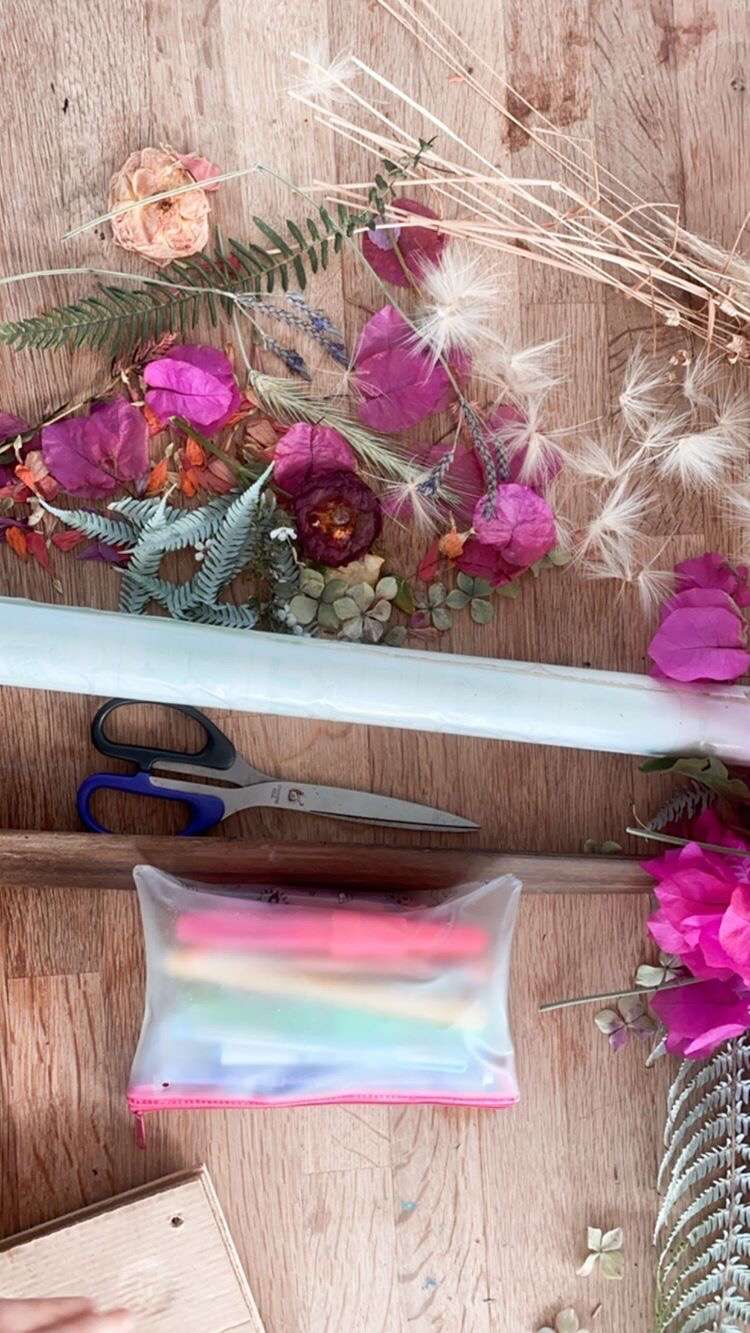
What you need:
* Flowers, leaves, etc
* Clear Contact Paper/Duraseal
* Wooden stick or small flat branch
* Elastic or String long enough to loop over arms
* Hot Glue Gun
How to:
1. Dry the flowers in the microwave between a paper towel and two plates. (You can also use an iron and baking paper to do this).
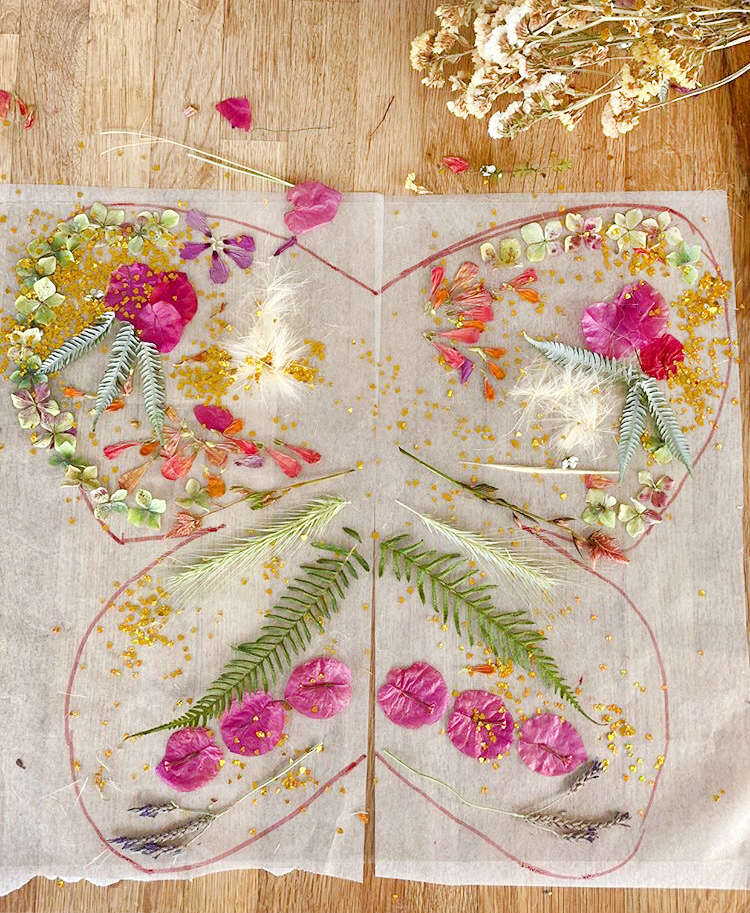
2. Draw a paper pattern the size you want the wings to be. Then tape this to the table.
3. Place the contact paper (duraseal) sticky side up with the paper drawn pattern underneath and then tape this to the table as well to stop it moving.
4. Place the dried flowers, leaves etc onto the sticky side. Tips: Use flowers with stalks to help the wings hold their shape. (Also less is more but the girls didn’t believe me!) Also keep items away from the wing edge.
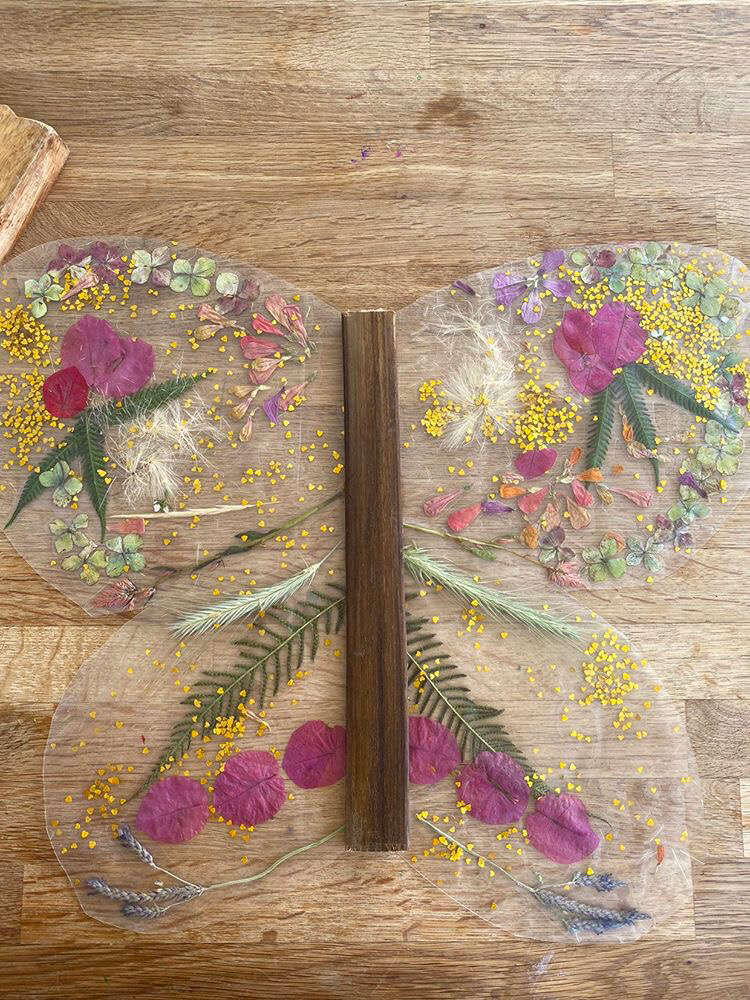
5. Once you are happy with the placement then put the second coat of contact paper on top to seal it. Gently smooth the two pieces together to avoid wrinkles and air bubbles.
6. Cut the wings to shape.
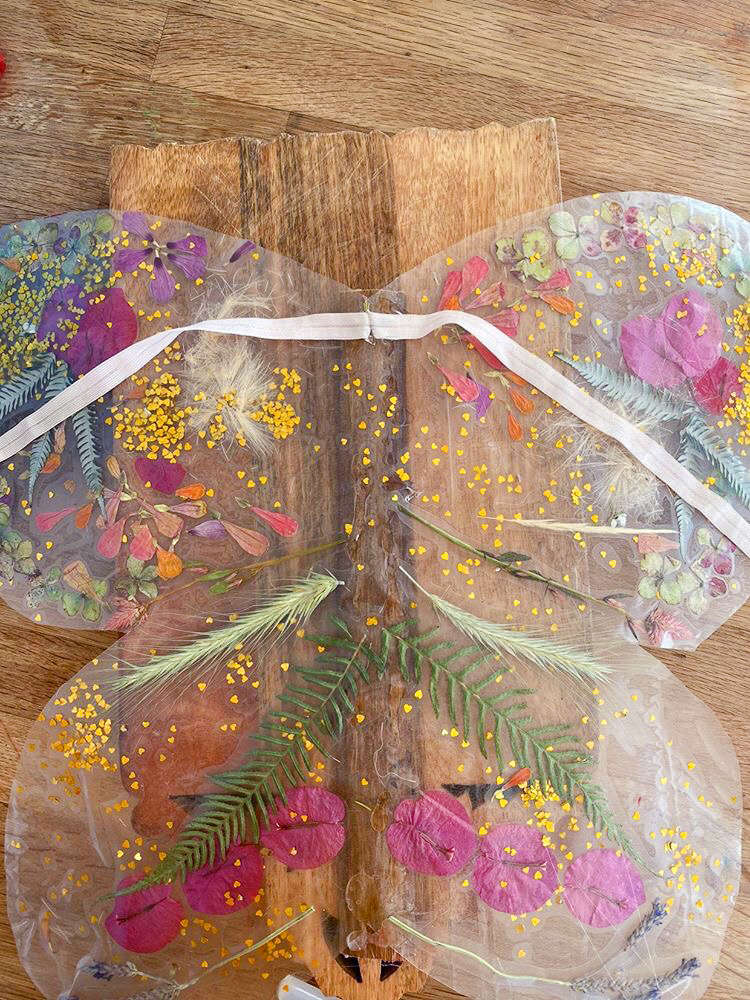
7. Hot glue gun the stick down the middle of the wings and then attach elastic or string to the wood for the arm loops.
8. You are ready to fly! And for boys you could make dragon wings!

This beautiful craft was brought to us by Lavara, an inspiring mother of three who spends her days creating magic through photography, crafts, gardening, home schooling, and so much more! Follow her here.


Leave a comment
This site is protected by hCaptcha and the hCaptcha Privacy Policy and Terms of Service apply.